最近用 PVE 虚拟了一个 Windows server 2019 来做下载机,以为有块硬盘用 DiskGenius 慢扫出来严重状态的扇区有三个,所以图形界面不能创建存储池。另辟蹊径,使用官方教程中的“Windows PowerShell 创建存储池的等效命令”强行创建存储池并且组成了 raid0,众所周知,raid0 的性能翻倍但是安全性最差,所以计划将 qBittorrent 下载的文件用现有的自动上传脚本传网盘
Windows 下使用 .sh 脚本
因为现有的脚本是 .sh 脚本是一种为 Shell 编写的脚本程序。Shell 是一个用 C 语言编写的程序,它是用户使用 Linux 的桥梁。Shell 既是一种命令语言,又是一种程序设计语言。Linux 的脚本用在 Windows 下就需要安装 Git。
首先去 Git 官网下载并安装 Git Windows10 版本,一路默认安装就行了。
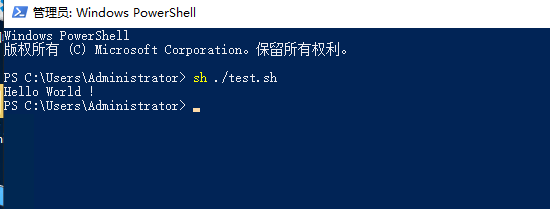
然后在用户目录(如 C:\Users\Administrator)下创建test.sh,写入以下代码
#!/bin/bash
echo "Hello World !"
保存,右键菜单选择Git Bash Here输入sh ./test.sh,回车
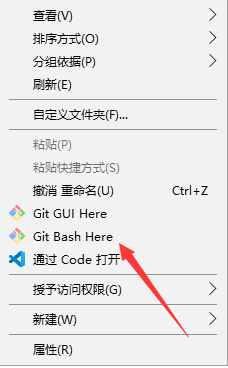
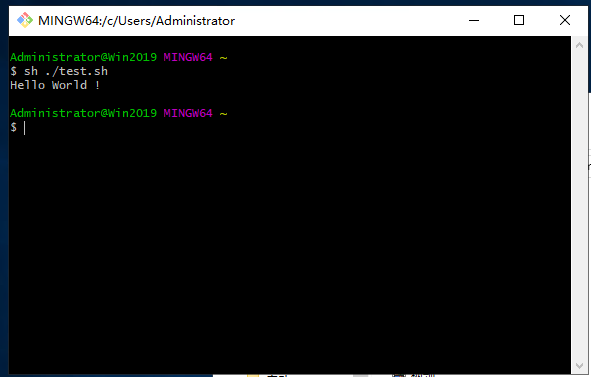
测试成功。
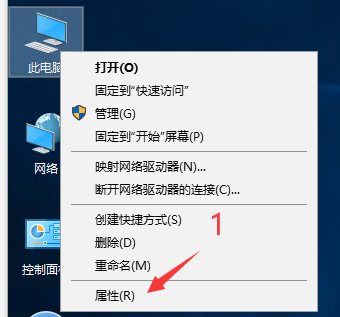
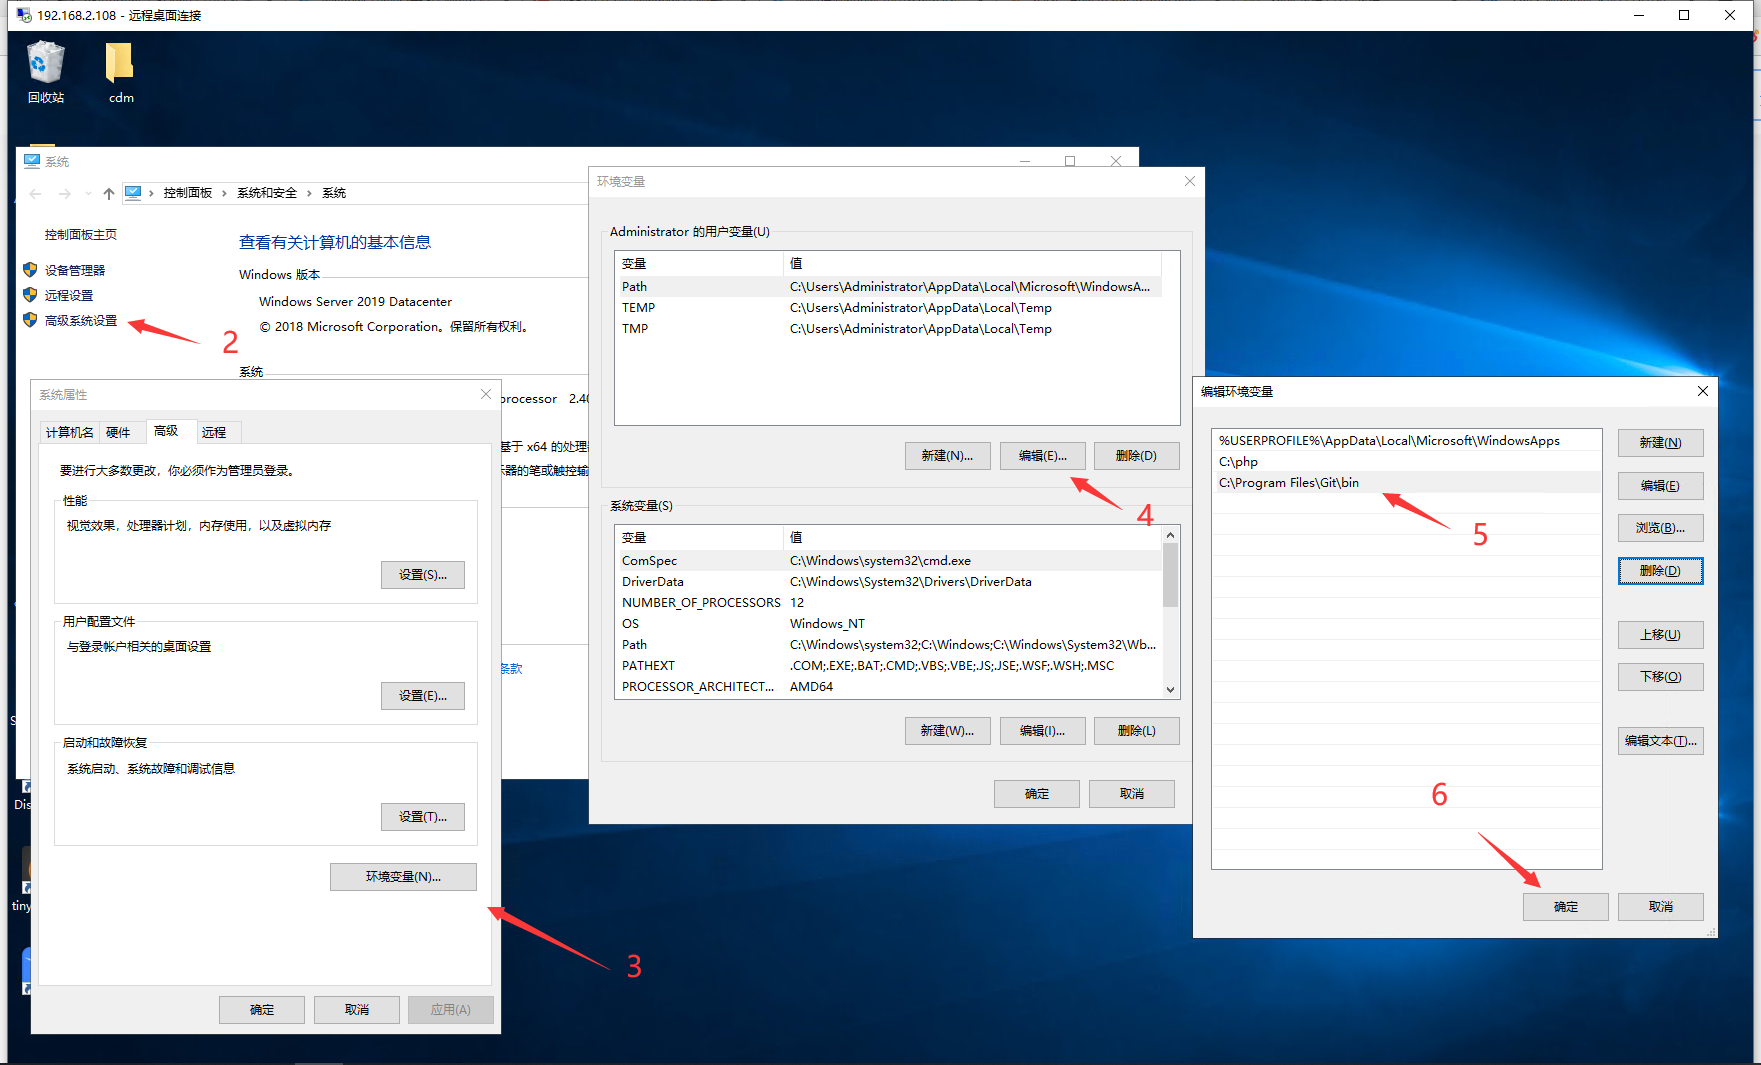
如果想在任何 cmd 窗口直接运行 sh 命令,需将 bash.exe 所在的文件夹添加到 path 环境变量。
测试成功。
qBittorrent + Rclone 自动上传
脚本基本不变直接放在用户目录即可,脚本下载 txt 后缀改成 sh
#!/bin/sh

qb_version="4.2.5" # 改:改为你的实际qb的版本号
qb_username="" # 改:该为你的qb登录用户名
qb_password="" # 改:改为你qb登录的密码
qb_web_url="http://127.0.0.1:2017" # 查:改为qb的登录地址,一般可以不改
log_dir="qblog" # 改:改为你日志运行的路径
rclone_dest="" # 运行rclone config查看name字段即可;格式就是"XX:"
from_dc_tag="" # 改:上传后的相对根目录,可为空
rclone_parallel="32" # rclone上传线程 默认4

# 下面的也可以自定义,但是推荐不改动
unfinished_tag="Wait_to_upload" # 这个是手动设置某些tag,因为有用才上传
uploading_tag="Uploading"
finished_tag="Uploaded"
noupload_tag="Not_upload"


if [ ! -d ${log_dir} ]
then
	mkdir -p ${log_dir}
fi

version=$(echo ${qb_version} | grep -P -o "([0-9]\.){2}[0-9]" | sed s/\\.//g)
startPat=`date +'%Y-%m-%d %H:%M:%S'`  # 时间计算方案
start_seconds=$(date --date="$startPat" +%s);

function qb_login(){
	if [ ${version} -gt 404 ]
	then
		qb_v="1"
		cookie=$(curl -i --header "Referer: ${qb_web_url}" --data "username=${qb_username}&password=${qb_password}" "${qb_web_url}/api/v2/auth/login" | grep -P -o 'SID=\S{32}')
		if [ -n ${cookie} ]
		then
			echo "[$(date '+%Y-%m-%d %H:%M:%S')] 登录成功!cookie:${cookie}"

		else
			echo "[$(date '+%Y-%m-%d %H:%M:%S')] 登录失败!"
		fi
	elif [[ ${version} -le 404 && ${version} -ge 320 ]]
	then
		qb_v="2"
		cookie=$(curl -i --header "Referer: ${qb_web_url}" --data "username=${qb_username}&password=${qb_password}" "${qb_web_url}/login" | grep -P -o 'SID=\S{32}')
		if [ -n ${cookie} ]
		then
			echo "[$(date '+%Y-%m-%d %H:%M:%S')] 登录成功!cookie:${cookie}"
		else
			echo "[$(date '+%Y-%m-%d %H:%M:%S')] 登录失败"
		fi
	elif [[ ${version} -ge 310 && ${version} -lt 320 ]]
	then
		qb_v="3"
		echo "陈年老版本,请及时升级"
		exit
	else
		qb_v="0"
		exit
	fi
}

# 先移除指定tag,后增加自己的tag
function qb_change_hash_tag(){
    file_hash=$1
    fromTag=$2
    toTag=$3
    if [ ${qb_v} == "1" ]
    then # 这里是添加某些tag的方法
		curl -s -X POST -d "hashes=${file_hash}&tags=${fromTag}" "${qb_web_url}/api/v2/torrents/removeTags" --cookie "${cookie}"
        curl -s -X POST -d "hashes=${file_hash}&tags=${toTag}" "${qb_web_url}/api/v2/torrents/addTags" --cookie "${cookie}"
    elif [ ${qb_v} == "2" ]
    then
        curl -s -X POST -d "hashes=${file_hash}&category=${fromTag}" "${qb_web_url}/command/removeCategories" --cookie ${cookie}
        curl -s -X POST -d "hashes=${file_hash}&category=${toTag}" "${qb_web_url}/command/setCategory" --cookie ${cookie}
    else
        echo "qb_v=${qb_v}"
    fi
}

function rclone_copy(){
    torrent_name=$1
    torrent_hash=$2
    torrent_path=$3

    echo "${torrent_name}"  >> ${log_dir}/qb.log
    echo "${torrent_hash}"  >> ${log_dir}/qb.log
    echo "${torrent_path}"  >> ${log_dir}/qb.log

    # tag = 待上传
    # 这里执行上传程序
    if [ -f "${torrent_path}" ]
    then
       echo "[$(date '+%Y-%m-%d %H:%M:%S')] 类型:文件"
       echo "[$(date '+%Y-%m-%d %H:%M:%S')] 类型:文件" >> ${log_dir}/qb.log
       type="file"
    elif [ -d "${torrent_path}" ]
    then
       echo "[$(date '+%Y-%m-%d %H:%M:%S')] 类型:目录"
       echo "[$(date '+%Y-%m-%d %H:%M:%S')] 类型:目录" >> ${log_dir}/qb.log
       type="dir"
    else
       echo "[$(date '+%Y-%m-%d %H:%M:%S')] 未知类型,取消上传"
       echo "[$(date '+%Y-%m-%d %H:%M:%S')] 未知类型,取消上传" >> ${log_dir}/qb.log
       # tag = 不上传
       qb_change_hash_tag ${torrent_hash} ${unfinished_tag} ${noupload_tag}
       return
    fi
    # tag = 上传中
    qb_change_hash_tag ${torrent_hash} ${unfinished_tag} ${uploading_tag}
    # 执行上传
    if [ ${type} == "file" ]
    then # 这里是rclone上传的方法
        rclone_copy_cmd=$(rclone -v copy --transfers ${rclone_parallel} --log-file  ${log_dir}/qbauto_copy.log "${torrent_path}" ${rclone_dest}${from_dc_tag})
    elif [ ${type} == "dir" ]
    then
		rclone_copy_cmd=$(rclone -v copy --transfers ${rclone_parallel} --log-file ${log_dir}/qbauto_copy.log "${torrent_path}"/ ${rclone_dest}${from_dc_tag}/"${torrent_name}")
    fi

    # tag = 已上传
    qb_change_hash_tag ${torrent_hash} ${uploading_tag} ${finished_tag}

    endPat=`date +'%Y-%m-%d %H:%M:%S'`
    end_seconds=$(date --date="$endPat" +%s);
    use_seconds=$((end_seconds-start_seconds));
    use_min=$((use_seconds/60));
    use_sec=$((use_seconds%60));
    echo "上传完成-耗时:${use_min}分${use_sec}秒"
}

function file_lock(){
    $(touch qbup.lock)
}
function can_go_lock(){
    lockStatus=$(ls | grep qbup.lock)
    if [ -z "${lockStatus}" ]
    then
        noLock="1"
        return
    fi
    noLock="0"
}
function file_unlock(){
    $(rm -rf qbup.lock)
}

function doUpload(){
    torrentInfo=$1
    i=$2
    echo $2
    echo ${i}

    # IFS保存,因为名字中可能出现多个空格
	OLD_IFS=$IFS
	IFS="\n"

    torrent_name=$(echo "${torrentInfo}" | jq ".[$i] | .name" | sed s/\"//g)
    torrent_hash=$(echo "${torrentInfo}" | jq ".[$i] | .hash" | sed s/\"//g)
    save_path=$(echo "${torrentInfo}" | jq ".[$i] | .save_path" | sed s/\"//g)

    IFS=$OLD_IFS

    echo "${torrent_name}";

    if [[ $save_path != /* ]]
    then
		save_path="${save_path}"
    fi

    torrent_path="${save_path}${torrent_name}" # 这里就是他的本地实际路径,尝试将这里上传上去

    can_go_lock
    if [[ ${noLock} == "1" ]] # 厕所门能开
    then
        file_lock # 锁上厕所门
        echo '执行上传没事的~~~';
        echo ${torrent_name}
        echo ${torrent_hash}
        echo ${torrent_path}
        rclone_copy "${torrent_name}" "${torrent_hash}" "${torrent_path}"
    else
        echo '已有程序在上传,退出'
        return # 打不开门,换个时间来
    fi
    file_unlock # 打开厕所门,出去
}

# 每次只查询一条数据,!!上传一条数据!!
function qb_get_status(){
	qb_login
	if [ ${qb_v} == "1" ]
	then
		completed_torrents_num=$(curl -s "${qb_web_url}/api/v2/torrents/info?filter=completed" --cookie "${cookie}" | jq '.[] | length' | wc -l)
		echo "任务数:".${completed_torrents_num}
		for((i=0;i<${completed_torrents_num};i++));
		do
			curtag=$(curl -s "${qb_web_url}/api/v2/torrents/info?filter=completed" --cookie "${cookie}" | jq ".[$i] | .tags" | sed s/\"//g | grep -P -o "${unfinished_tag}")
			if [ -z "${curtag}" ]
			then
				curtag="null"
			fi
			if [ ${curtag} == "${unfinished_tag}" ]
			then
			    torrentInfo=$(curl -s "${qb_web_url}/api/v2/torrents/info?filter=completed" --cookie "${cookie}")

				doUpload "${torrentInfo}" ${i}
                # 每次只上传一个数据,否则的话,可能会导致多线程的争用问题
                break
			fi
		done
	elif [ ${qb_v} == "2" ]
	then
		completed_torrents_num=$(curl -s "${qb_web_url}/query/torrents?filter=completed" --cookie "${cookie}" | jq '.[] | length' | wc -l)
		for((i=0;i<${completed_torrents_num};i++));
		do
			curtag=$(curl -s "${qb_web_url}/query/torrents?filter=completed" --cookie "${cookie}" | jq ".[$i] | .category" | sed s/\"//g)
			if [ -z "${curtag}" ]
			then
				curtag="null"
			fi
			if [ ${curtag} == "${unfinished_tag}" ]
			then
				torrentInfo=$(curl -s "${qb_web_url}/query/torrents?filter=completed" --cookie "${cookie}")

                doUpload "${torrentInfo}" ${i}
                # 每次只上传一个数据,否则的话,可能会导致多线程的争用问题
                break
			fi
		done
		echo "啥事都不干";
	else
		echo "获取错误"
		echo "qb_v=${qb_v}"
	fi
}

qb_get_status
接着安装 jq,以管理员打开 cmd,输入
#安装 chocolatey
@"%SystemRoot%\System32\WindowsPowerShell\v1.0\powershell.exe" -NoProfile -InputFormat None -ExecutionPolicy Bypass -Command "iex ((New-Object System.Net.WebClient).DownloadString('https://chocolatey.org/install.ps1'))" && SET "PATH=%PATH%;%ALLUSERSPROFILE%\chocolatey\bin"
#安装 jq
chocolatey install jq
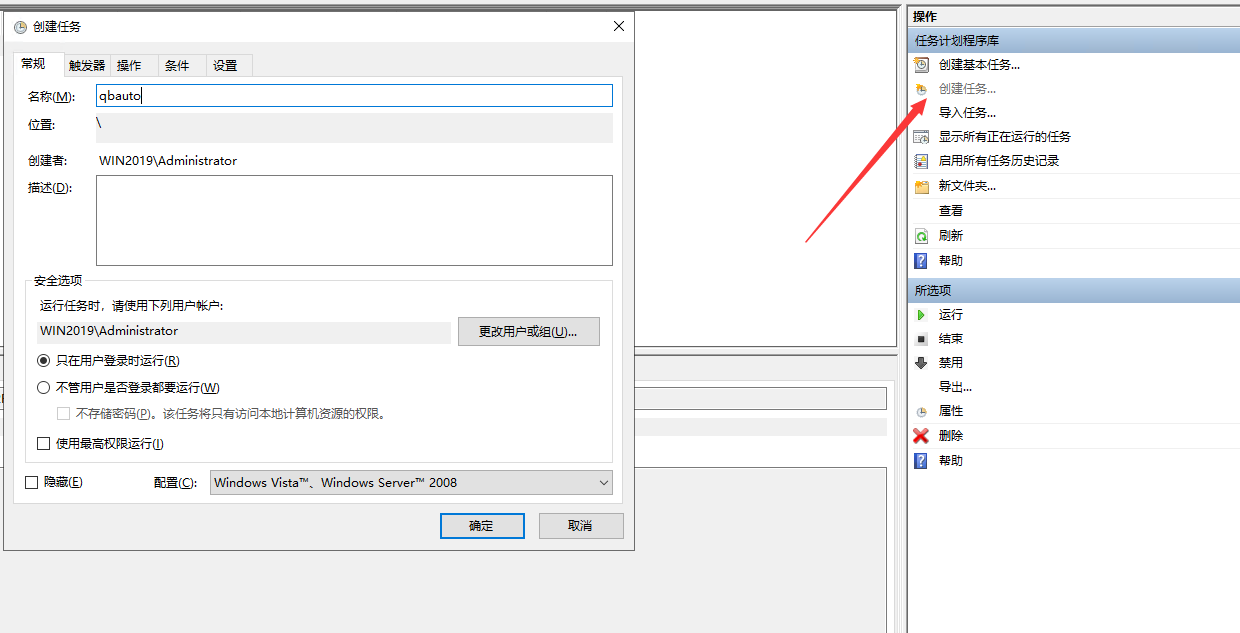
在左下角搜索栏搜索任务计划程序

创建任务
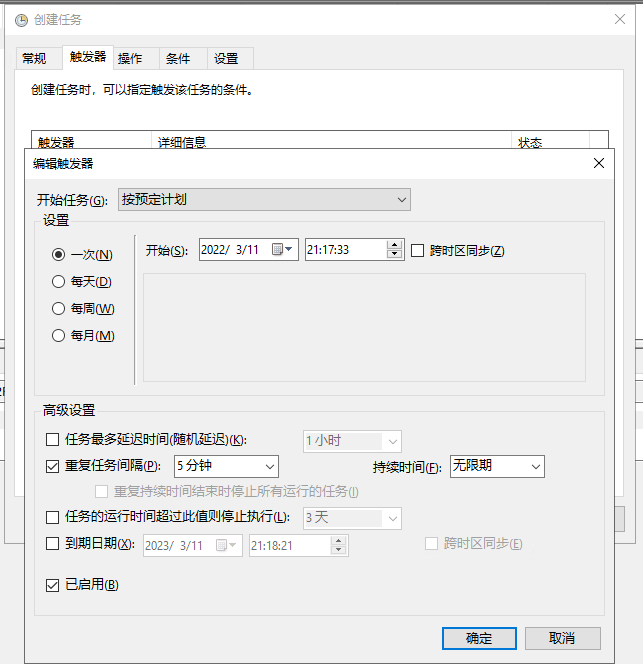
创建五分钟一次触发器
选择脚本
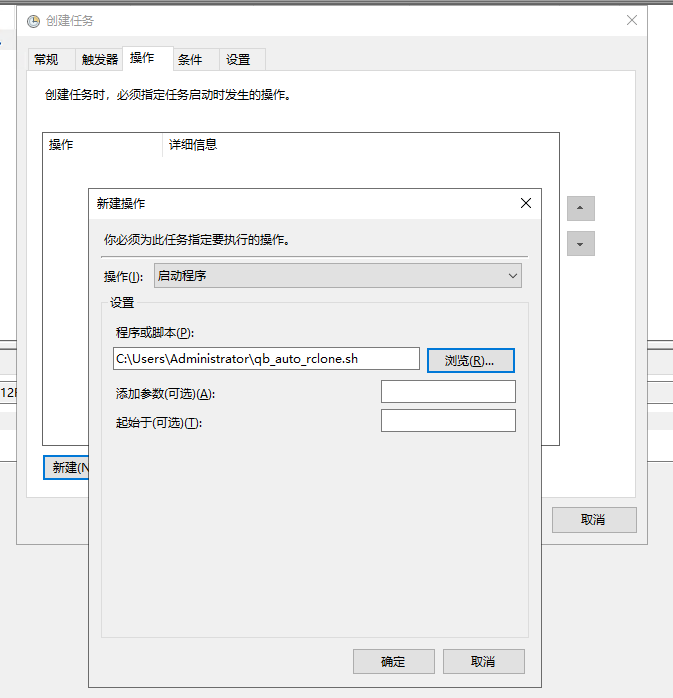
确定,静等触发即可,qBittorrent 设置和前一篇的方法二一样,定时任务默认运行于C:\windows\system32,修改“起始于(可选)”即可修改 qbup.lock 文件生成路径。
后记
Raid0 速度翻倍真的爽,数据丢了哭的惨,自动上传把心安。